Tags
allhailskippy, Boss Monster, Boss Monster 1, Boss Monster 2, Boss Monster Insert, craft, crafting, crafts, DIY, DIY Boss Monster insert, DIY Insert, how-to, HowTo, Nerd crafting, Nerd Crafts, nerdcrafting, Paper Craft, pattern, That's Pauls Show, That's PS!, thatsps, tutorial, vlog
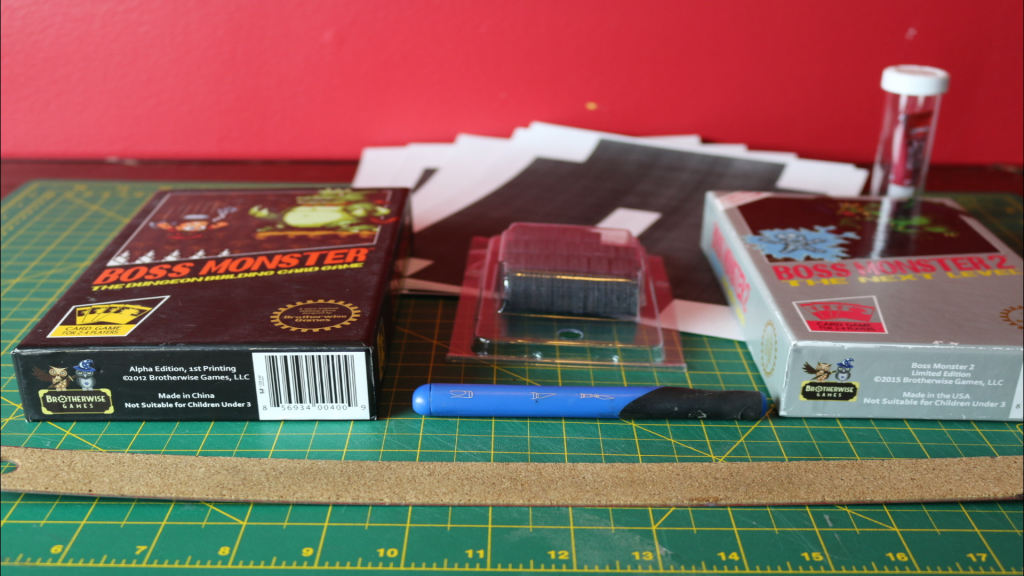
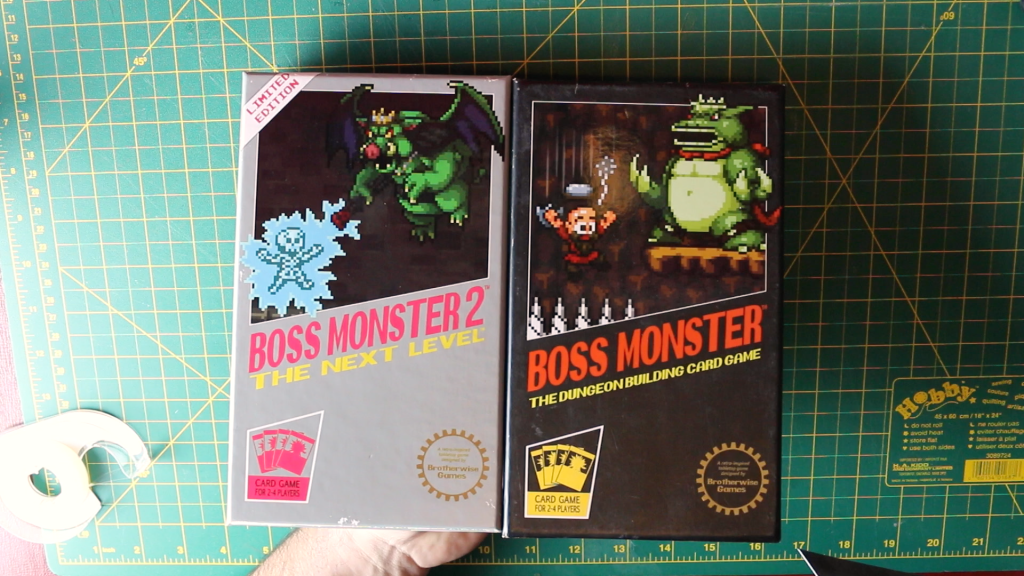
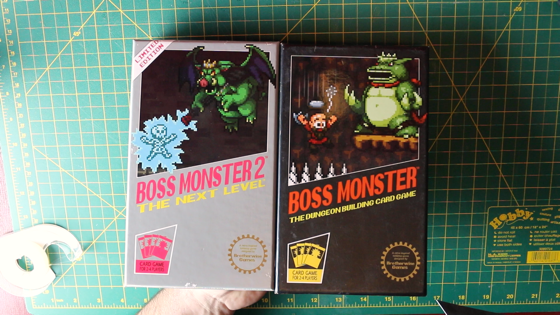
I was at my friendly local game store (FLGS) a few years ago (and a different local ago) when my eyes happened upon a game that as soon as I saw the artwork on, I instantly had to have. That game was Boss Monster. The cover is an 8-bit style that looks like it belongs on an old NES cartridge. Once I’d opened up the box, I was most definitely not disappointed. Every card was its own piece of pixellated

(Affiliate Link)
retro art. And the best part, you get to play as the boss monster themselves as you try to thwart the hordes of unwitting do gooders who are constantly trying to break down the doors of your trap laden den of nefariousness. How cool is that? So when I saw that there was an expansion, I of course had to acquire that bad boy too.
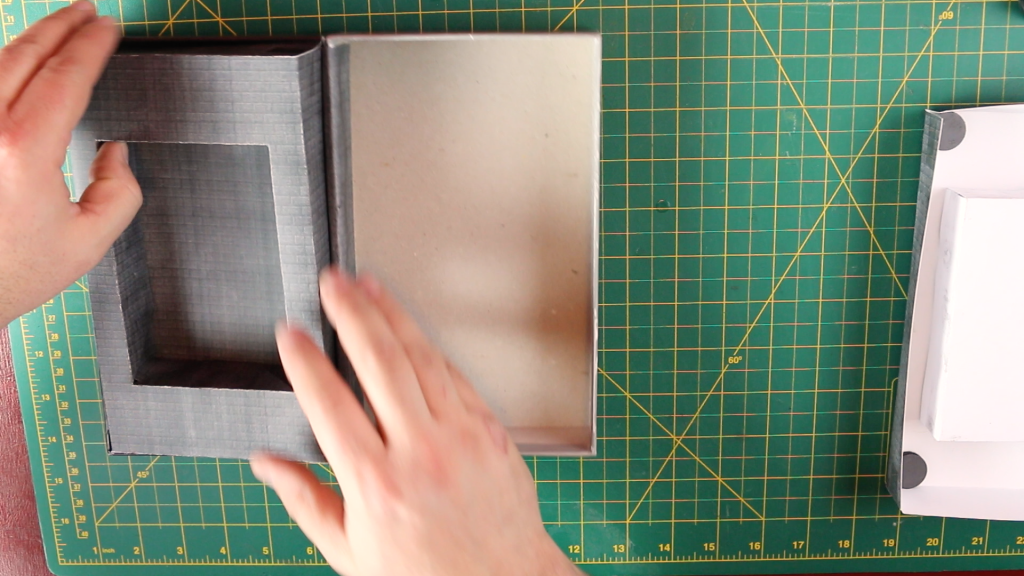
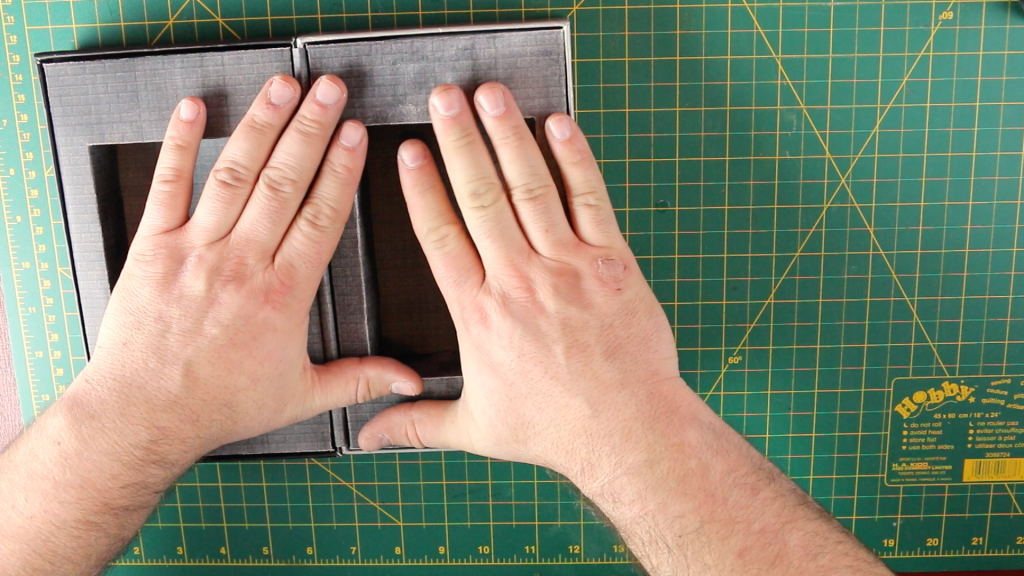
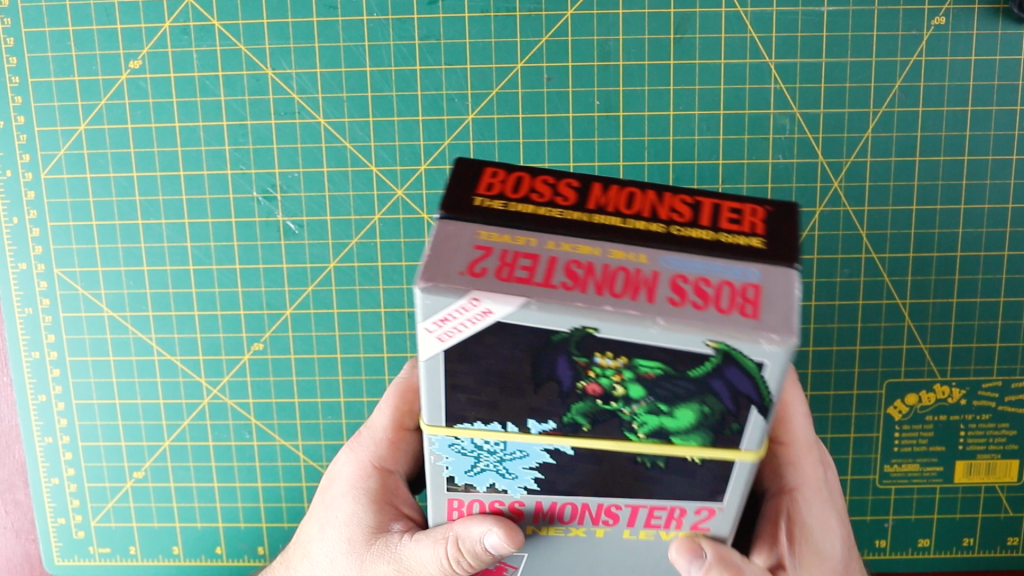
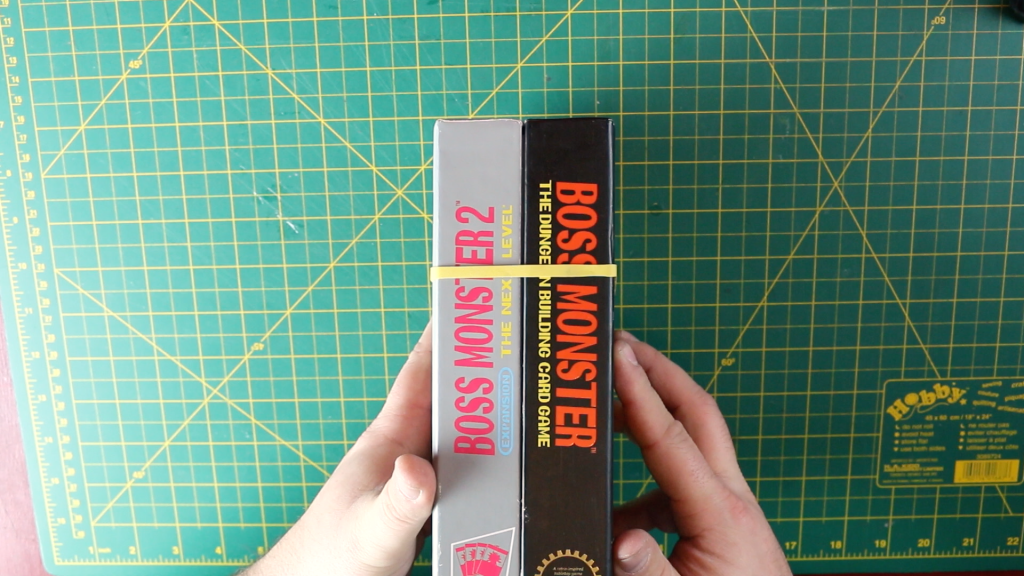
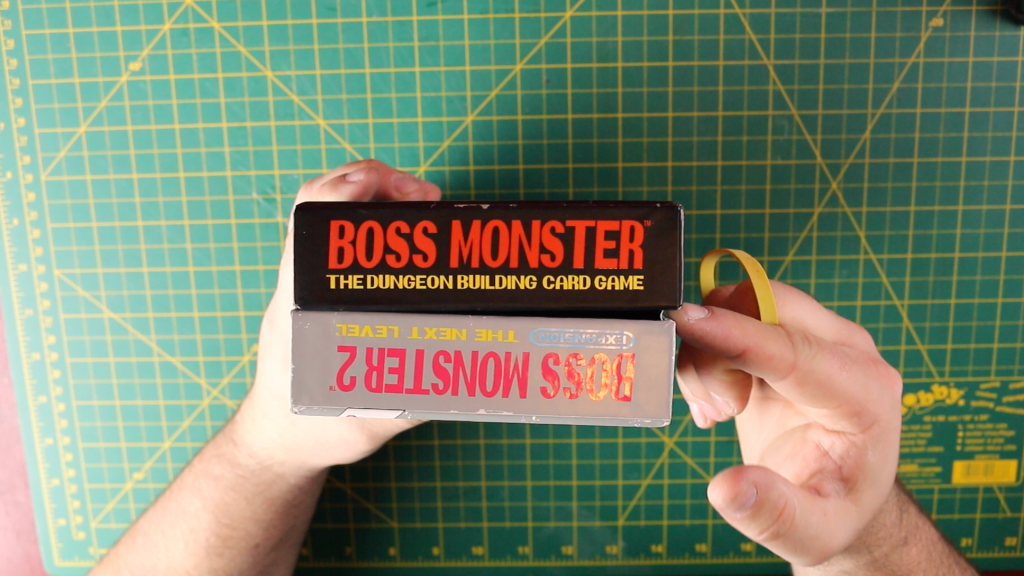
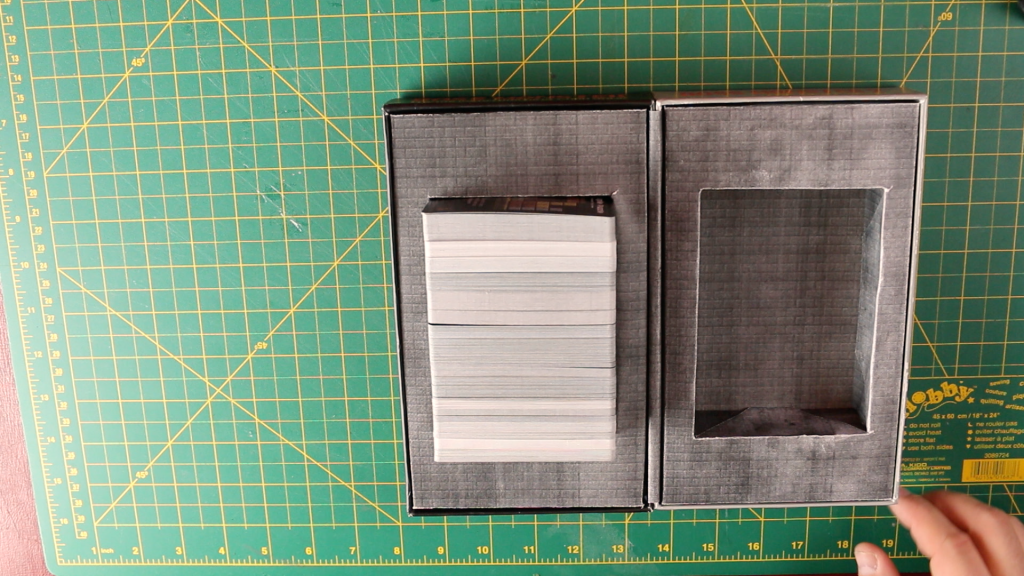
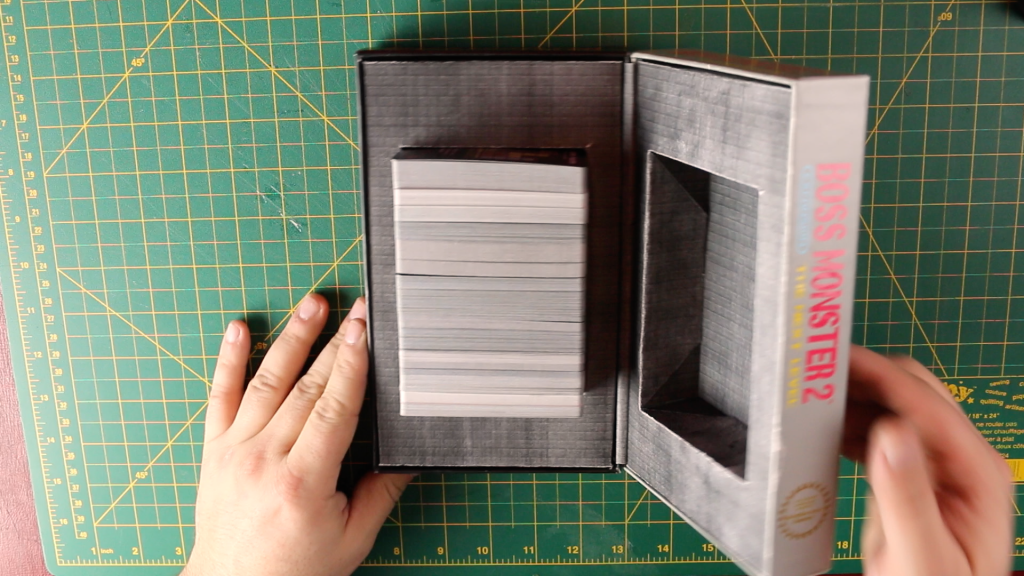
Skip ahead a few years. I’ve recently been trying to clean up my board game storage to better accommodate all of the various games I’ve managed to collect over the last little while and I when I got to my copies of Boss Monster 1 & 2, I realized that I wasn’t really storing them all that well, since you can’t really fit all both games cards into a single box properly. So I sat down with both games, and ended up designing a simple solution to store all of the components in a single box, made out of components from both boxes.
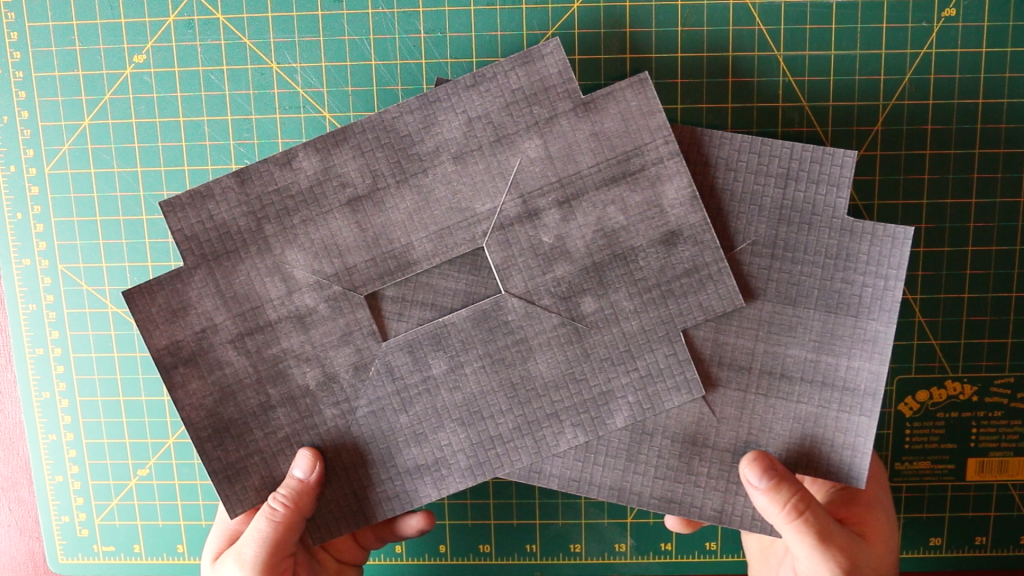
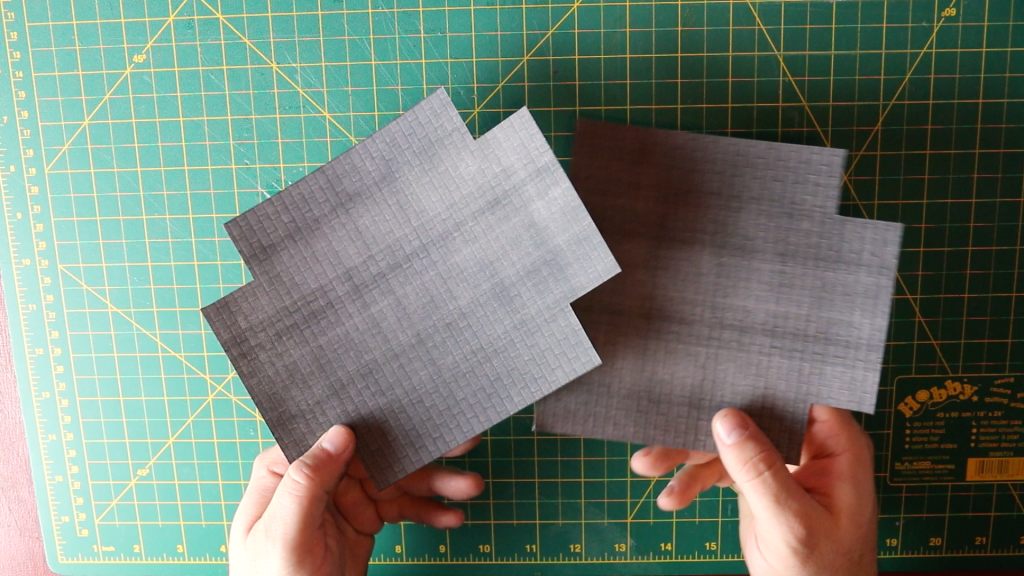
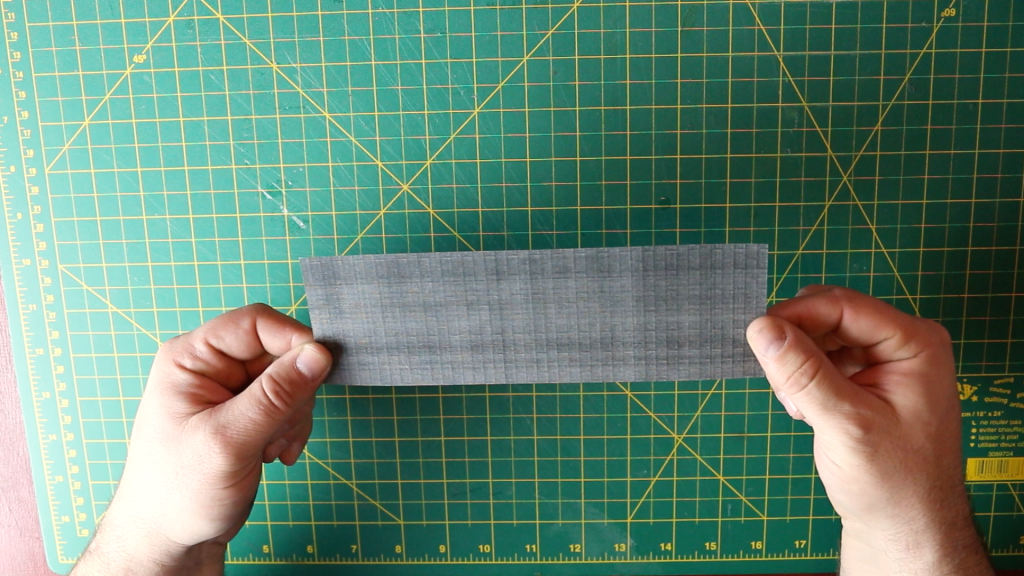
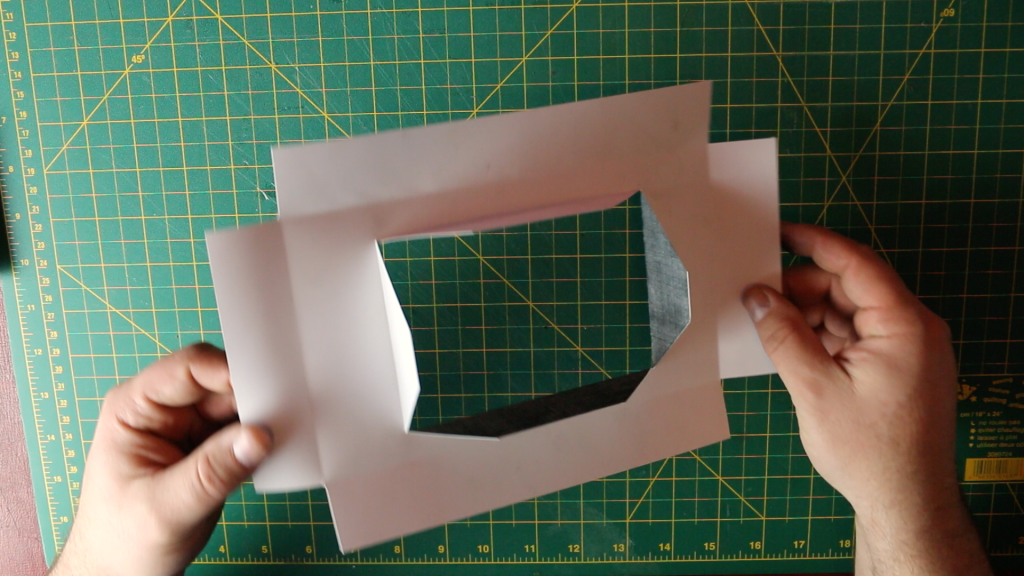
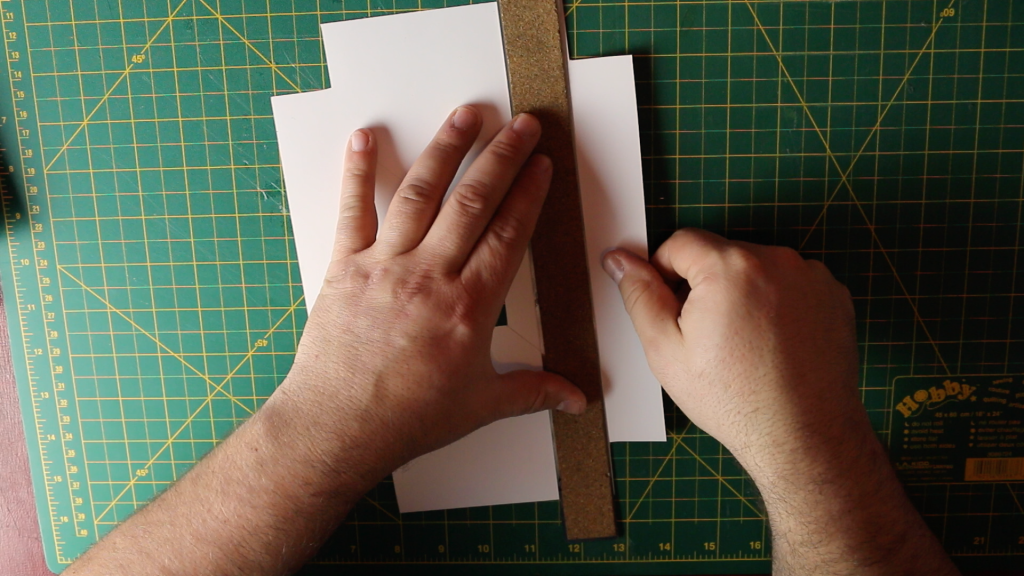
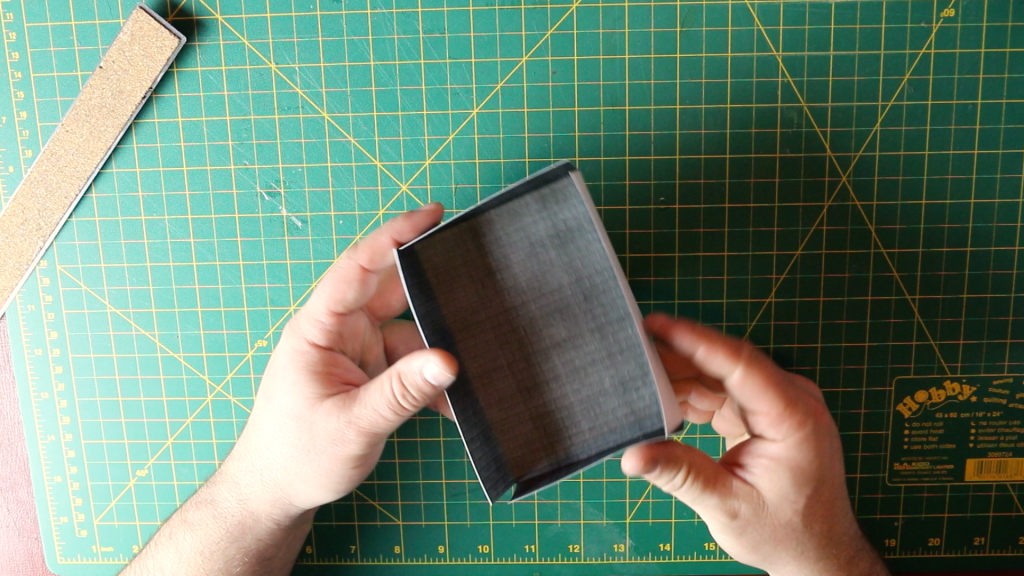
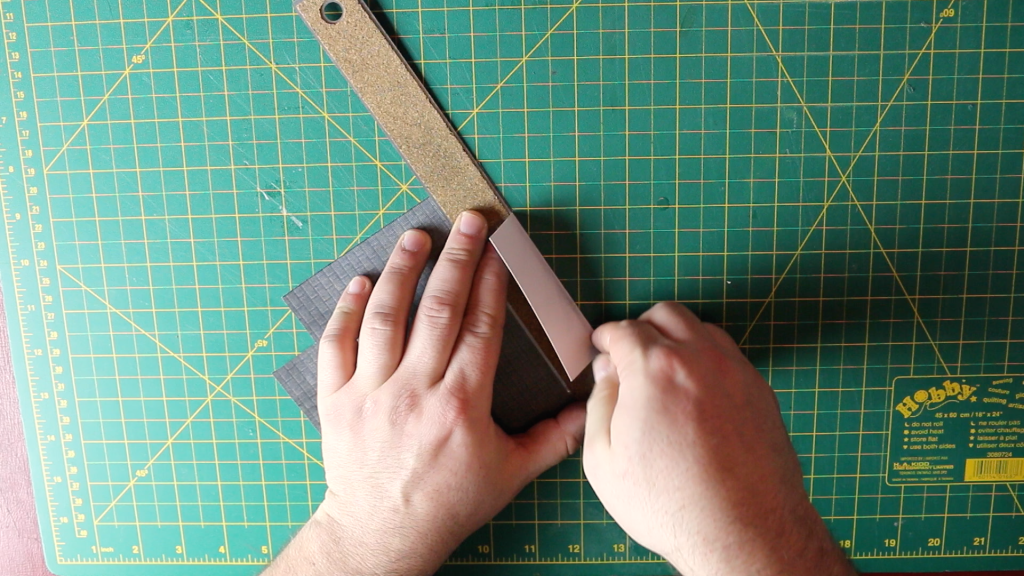
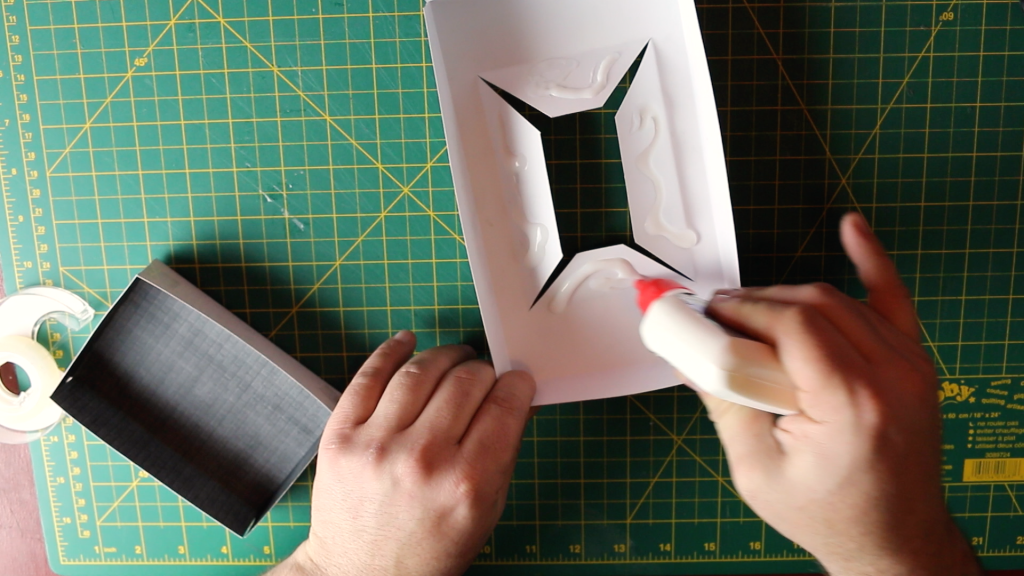
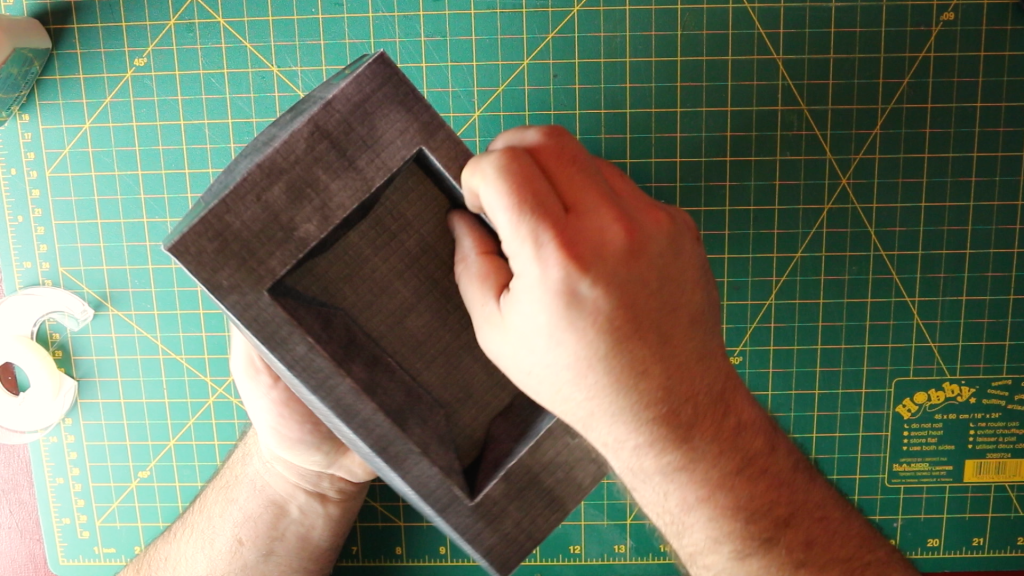
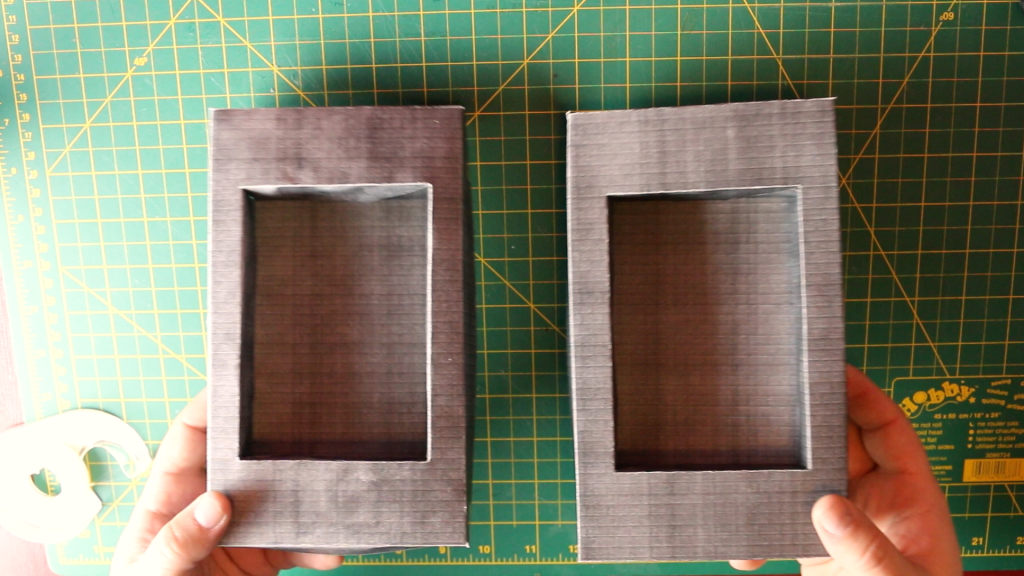
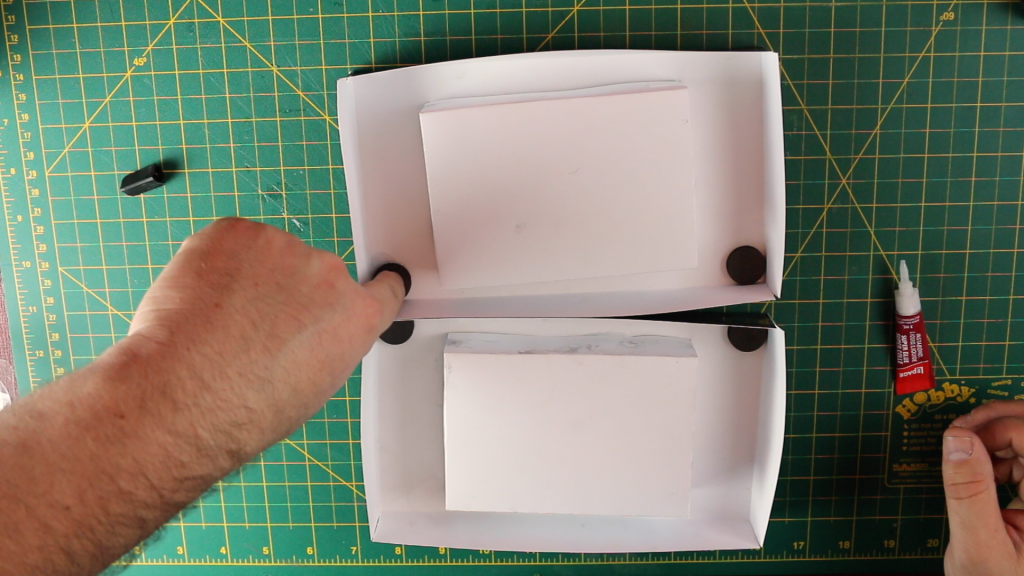
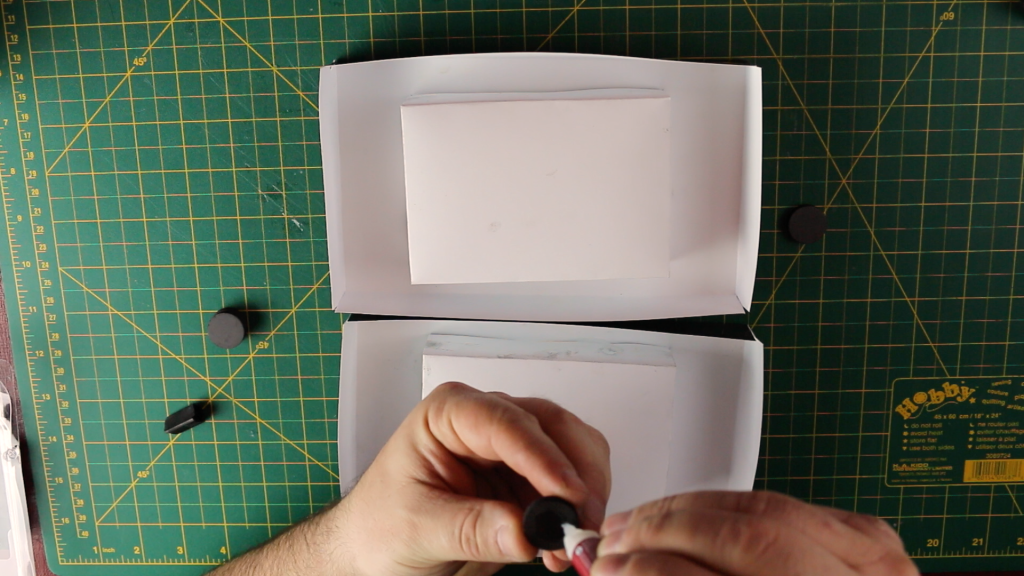
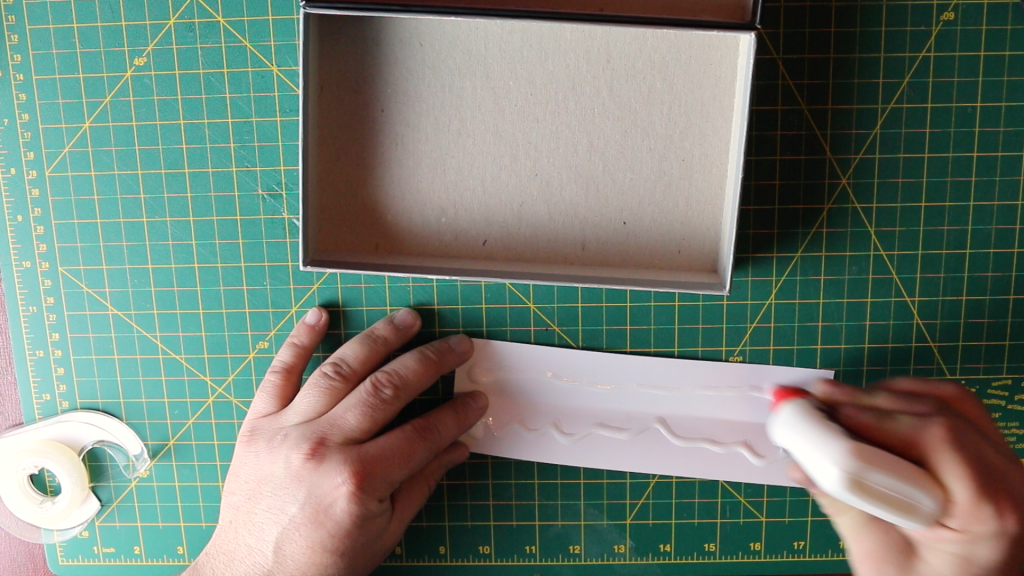
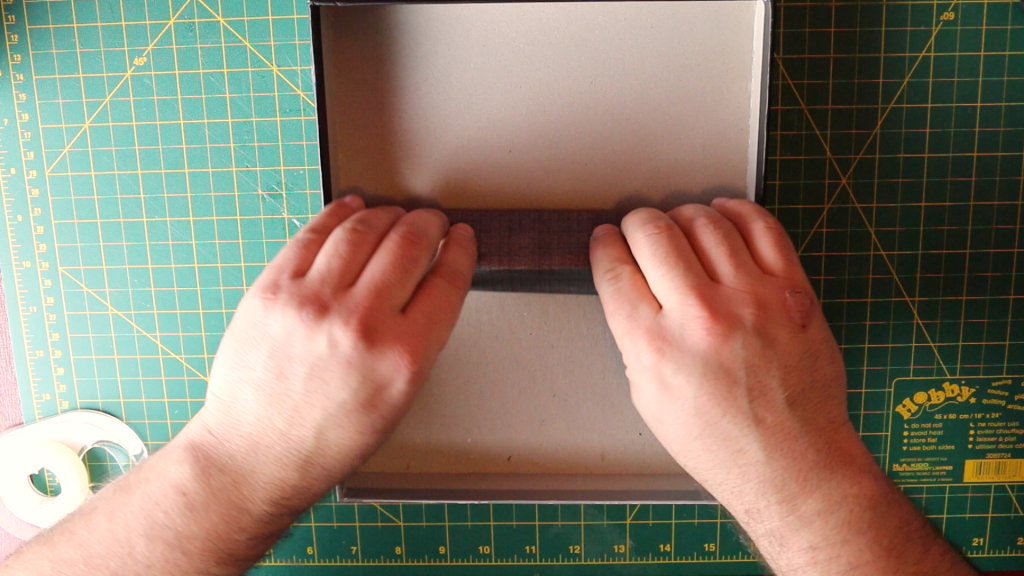
That design is one I’ll share with you today as I teach you how to make your very own Boss Monster insert out of not much more than some card stock, glue and a couple magnets.

