Easy DIY Boss Monster Insert

Tags

, , , , , , , , , , , , , , , , , , , , , ,

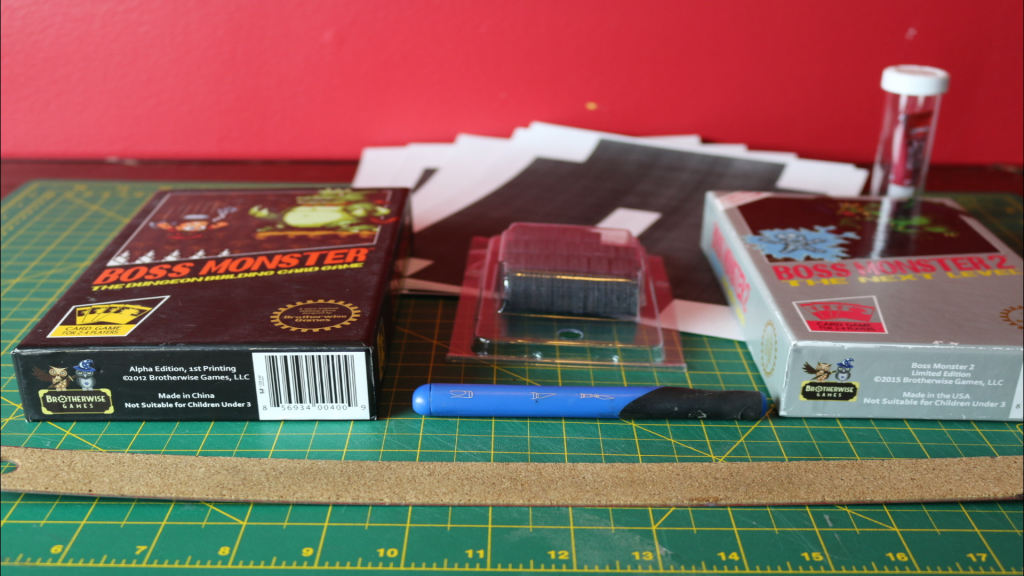
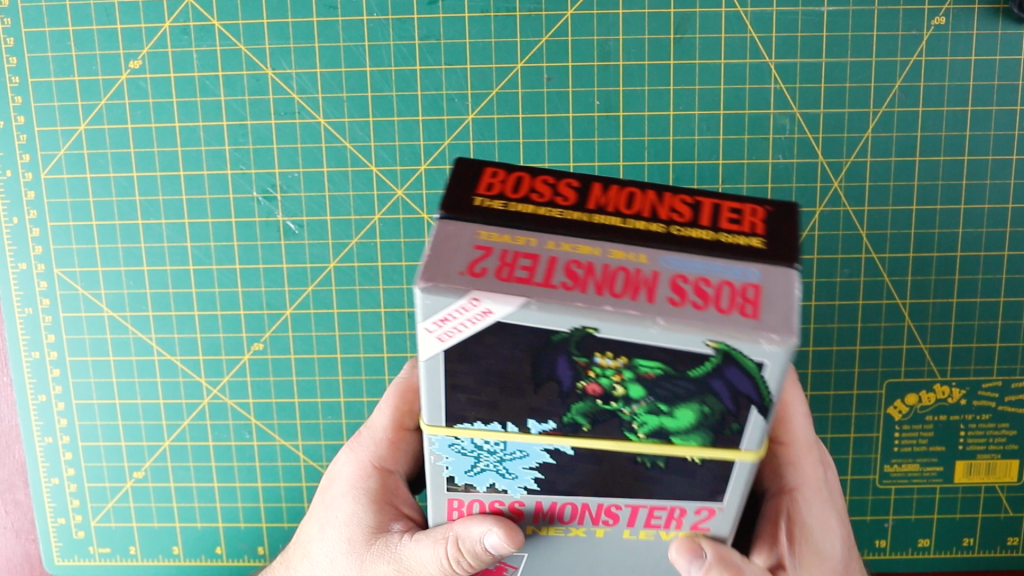
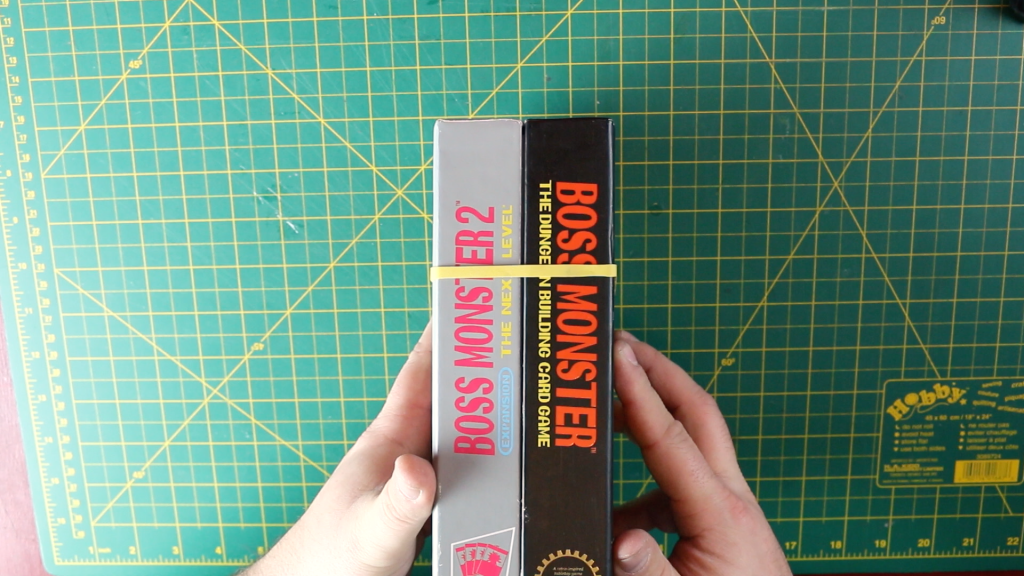
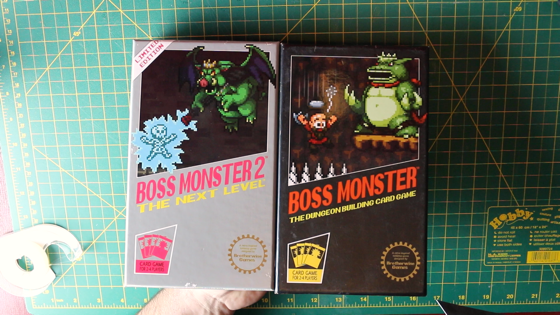
I was at my friendly local game store (FLGS) a few years ago (and a different local ago) when my eyes happened upon a game that as soon as I saw the artwork on, I instantly had to have. That game was Boss Monster. The cover is an 8-bit style that looks like it belongs on an old NES cartridge. Once I’d opened up the box, I was most definitely not disappointed. Every card was its own piece of pixellated

Buy Boss Monster 1 & 2

(Affiliate Link)

retro art. And the best part, you get to play as the boss monster themselves as you try to thwart the hordes of unwitting do gooders who are constantly trying to break down the doors of your trap laden den of nefariousness. How cool is that? So when I saw that there was an expansion, I of course had to acquire that bad boy too.

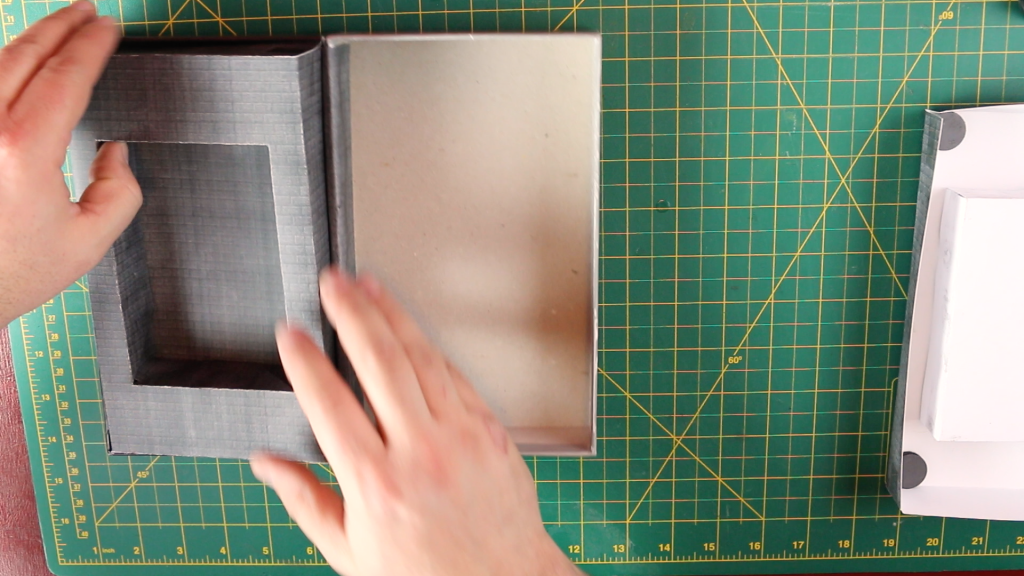
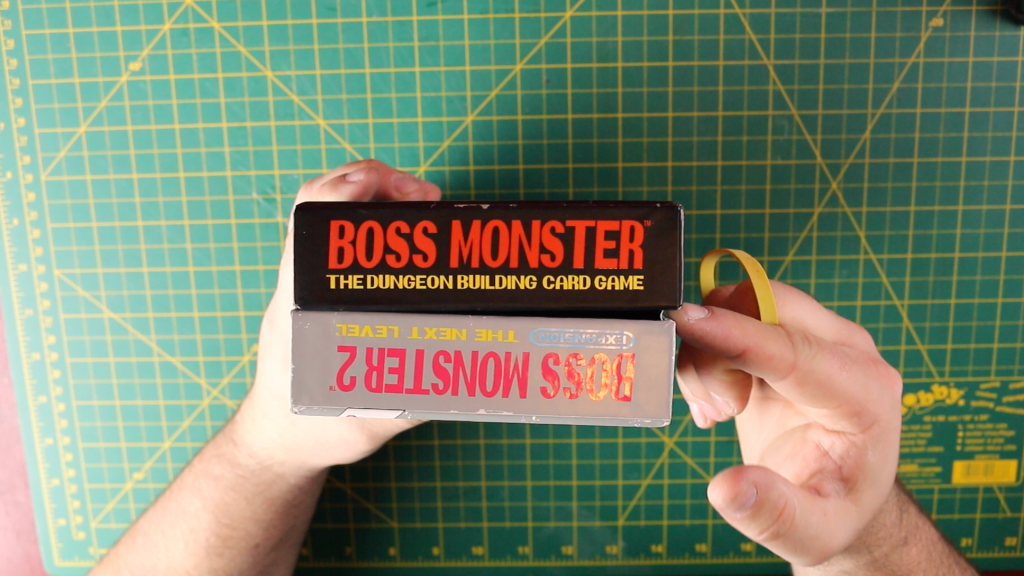
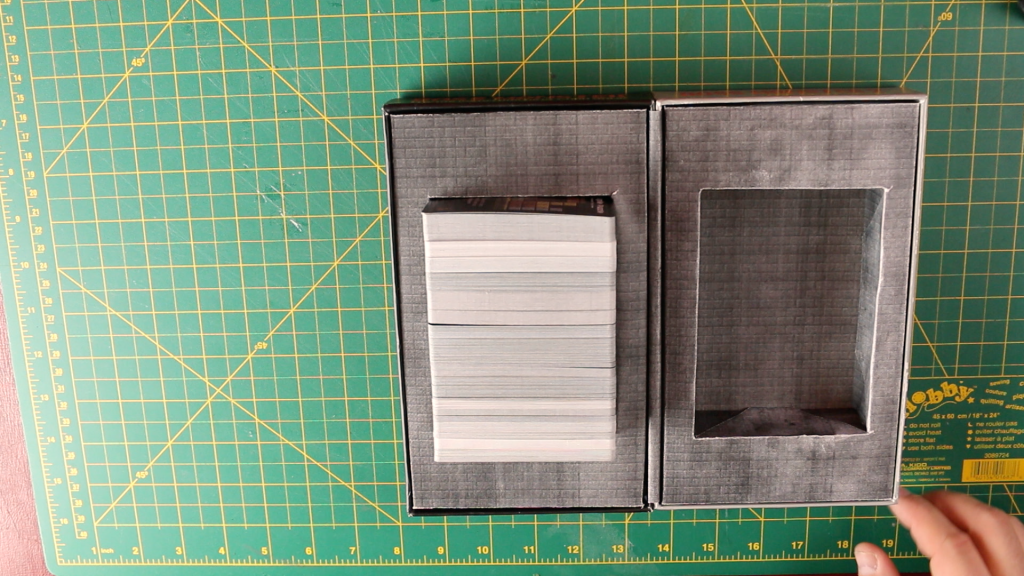
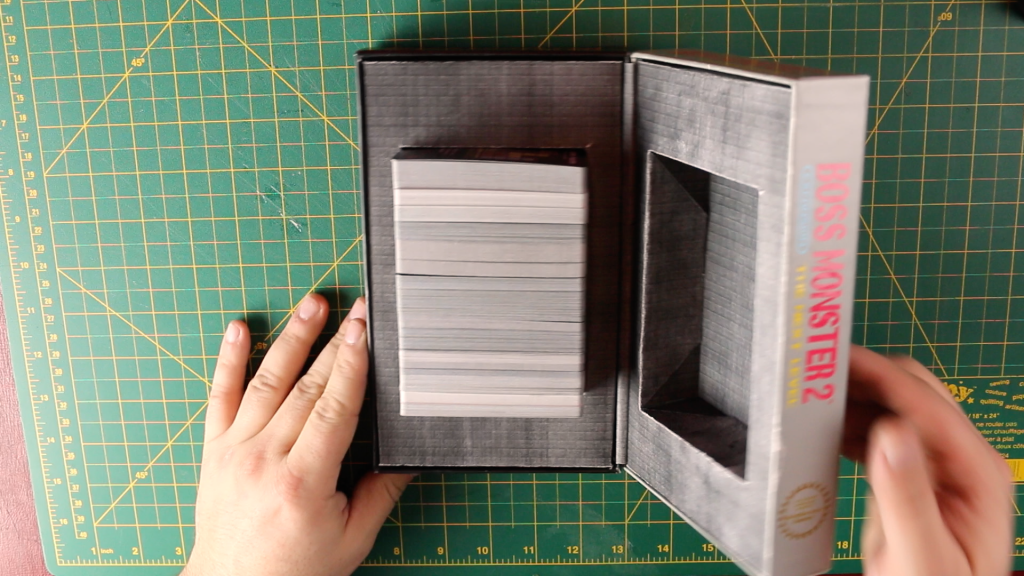
Skip ahead a few years. I’ve recently been trying to clean up my board game storage to better accommodate all of the various games I’ve managed to collect over the last little while and I when I got to my copies of Boss Monster 1 & 2, I realized that I wasn’t really storing them all that well, since you can’t really fit all both games cards into a single box properly. So I sat down with both games, and ended up designing a simple solution to store all of the components in a single box, made out of components from both boxes.

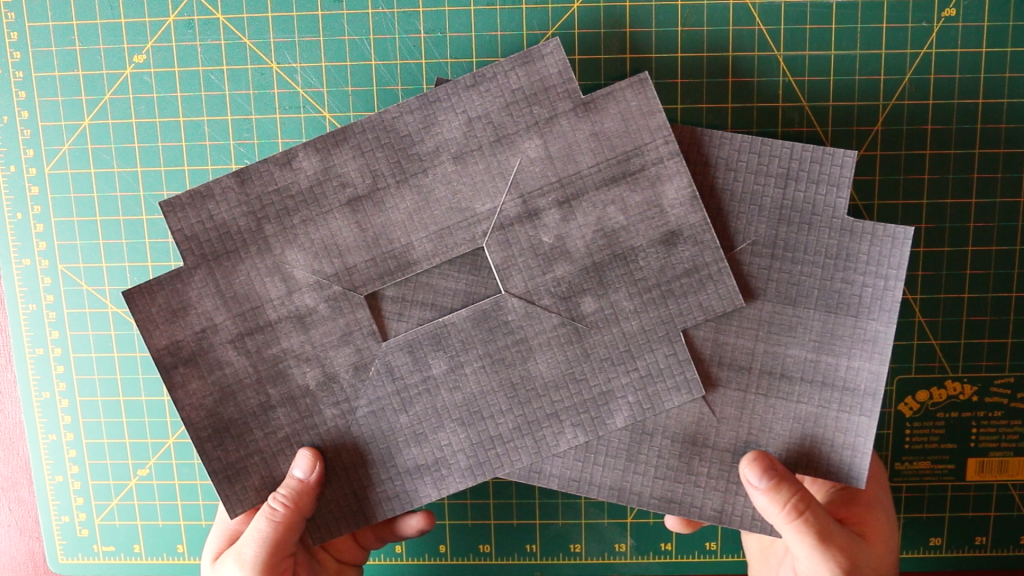
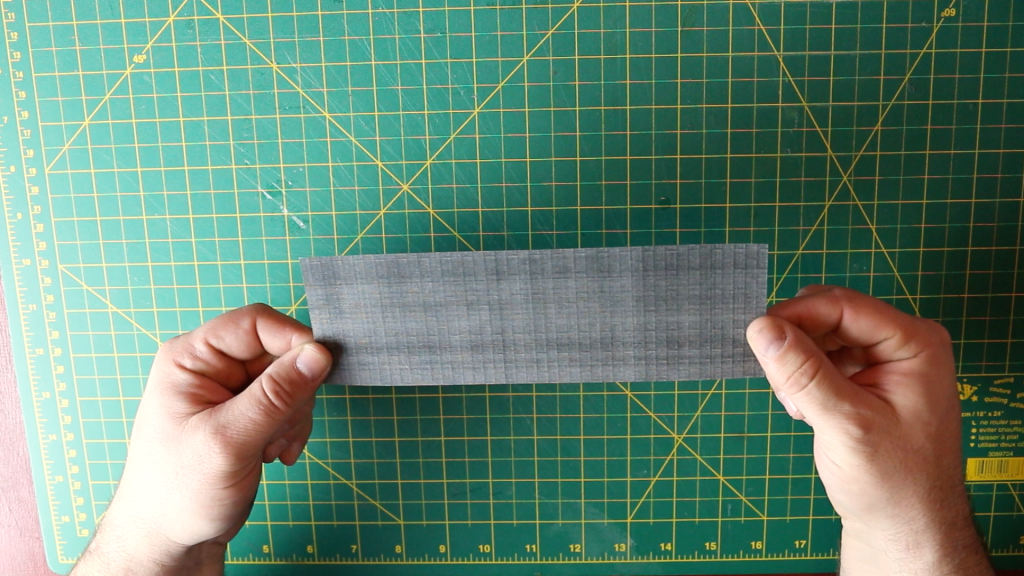
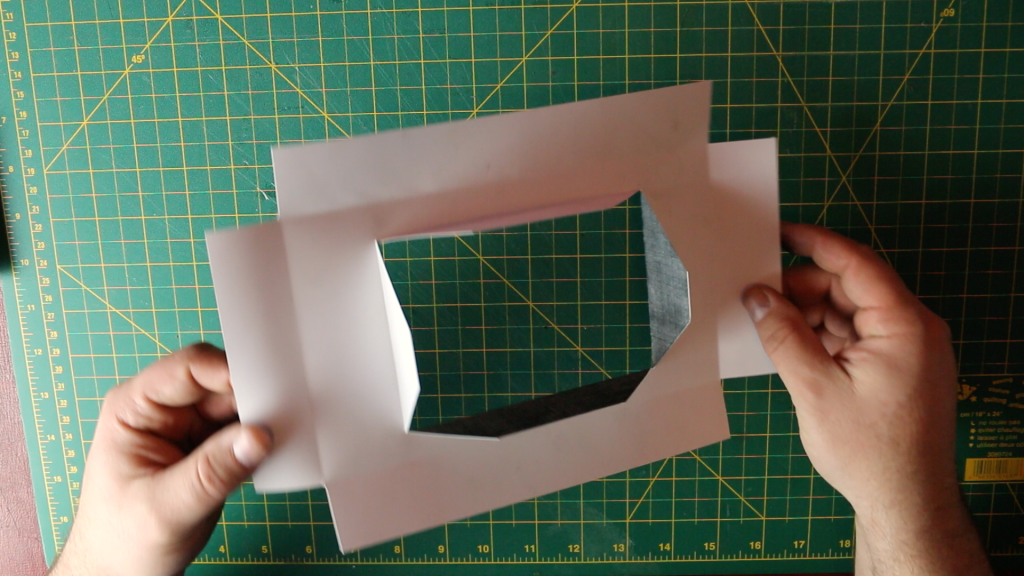
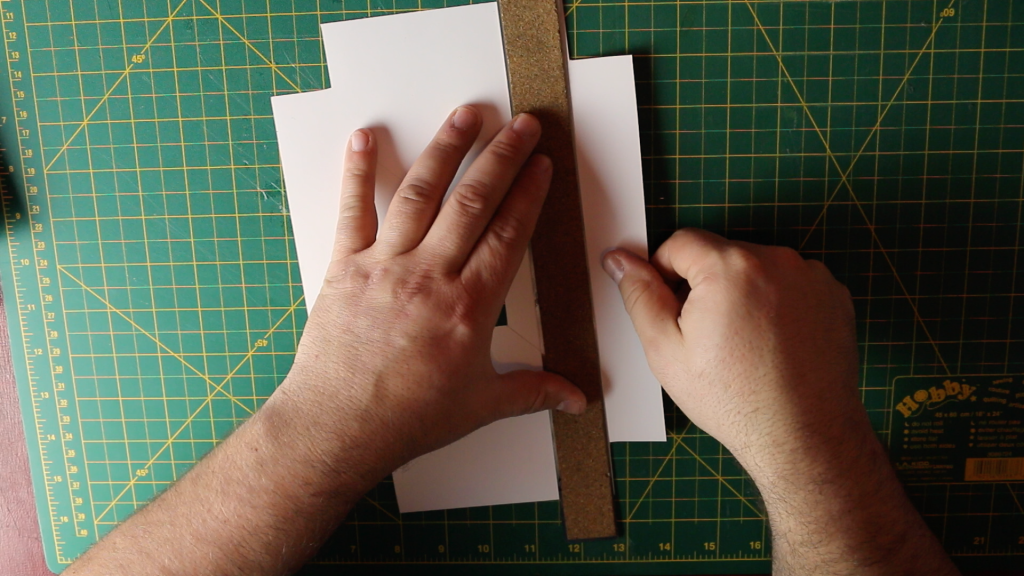
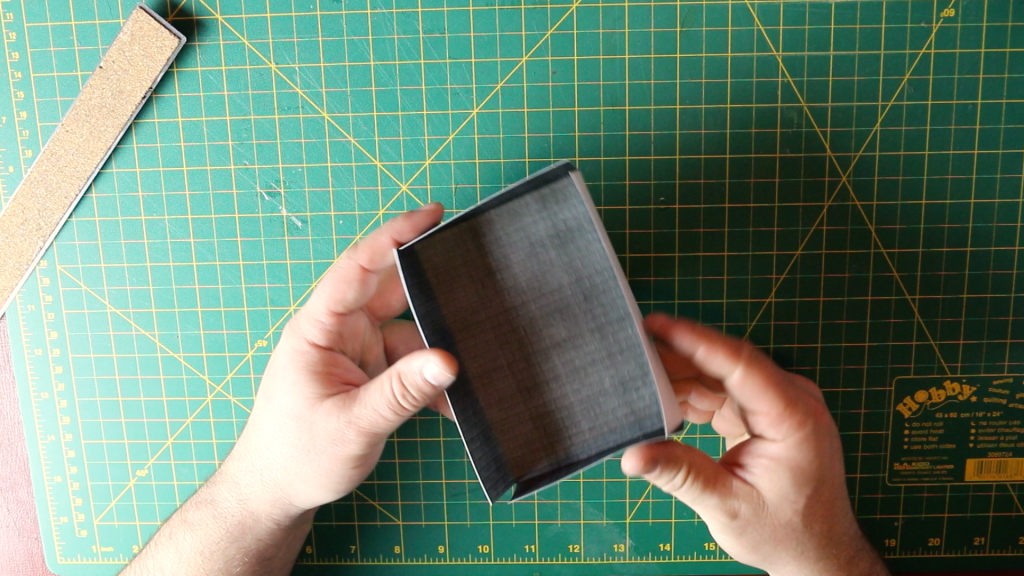
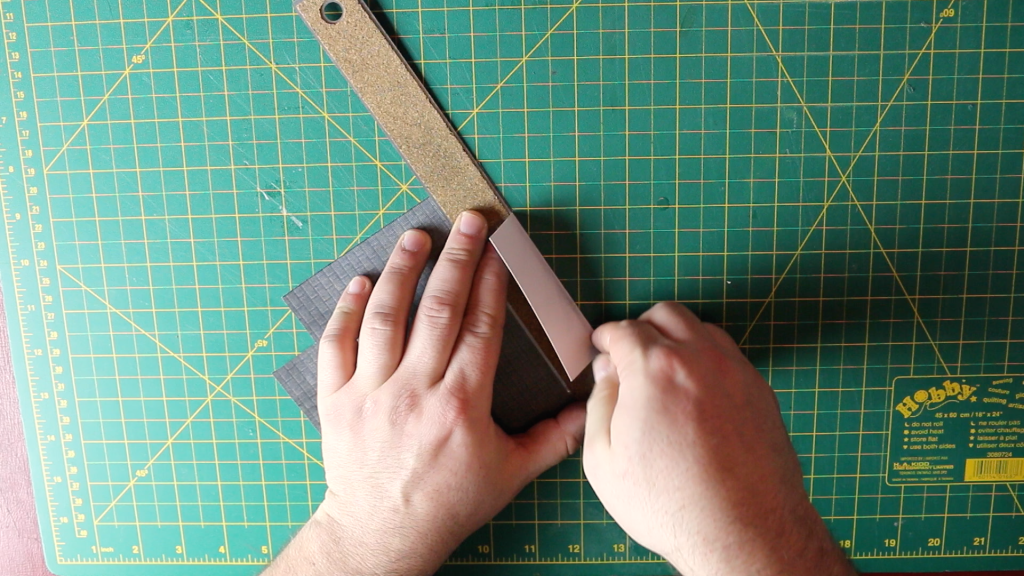
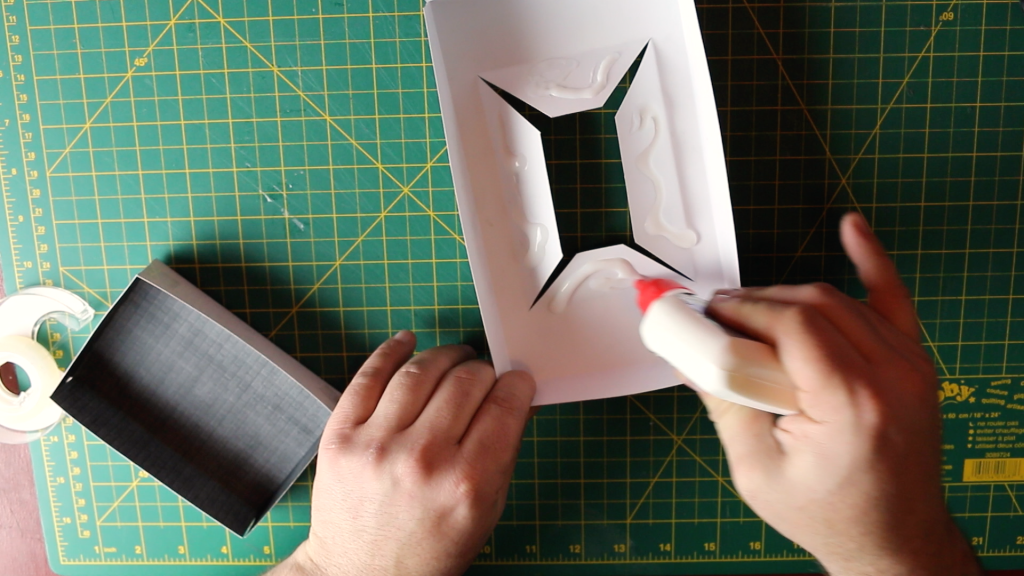
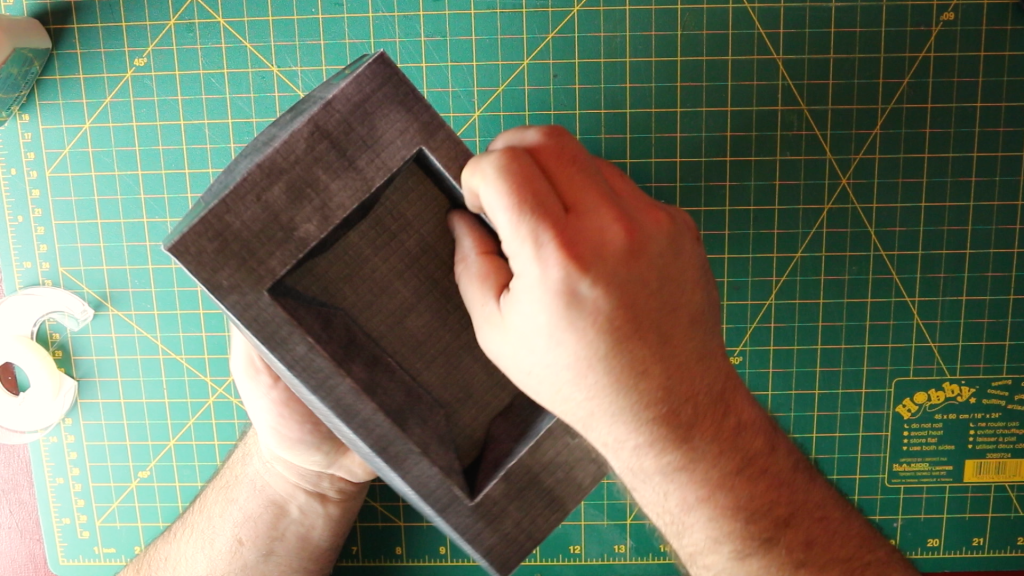
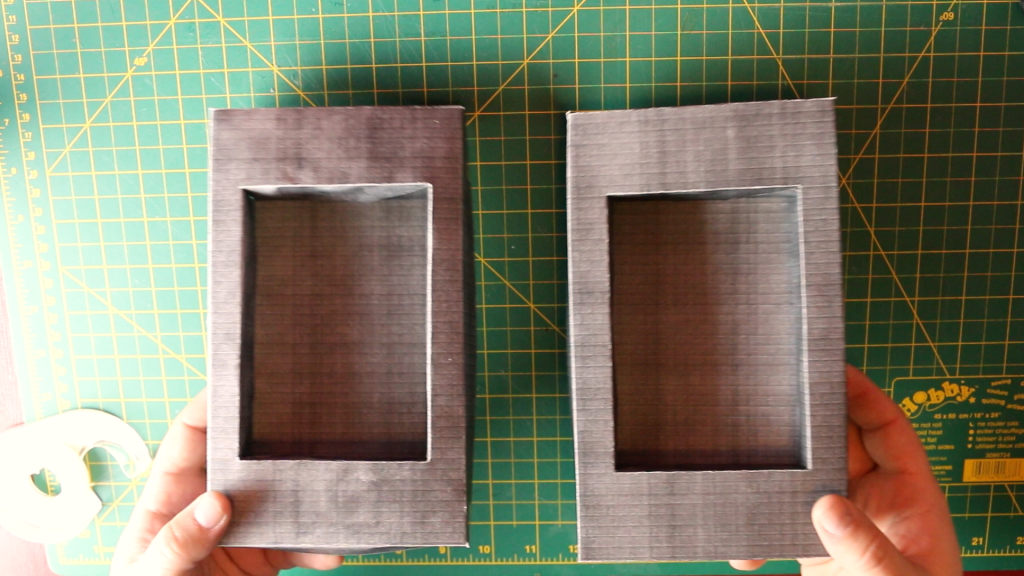
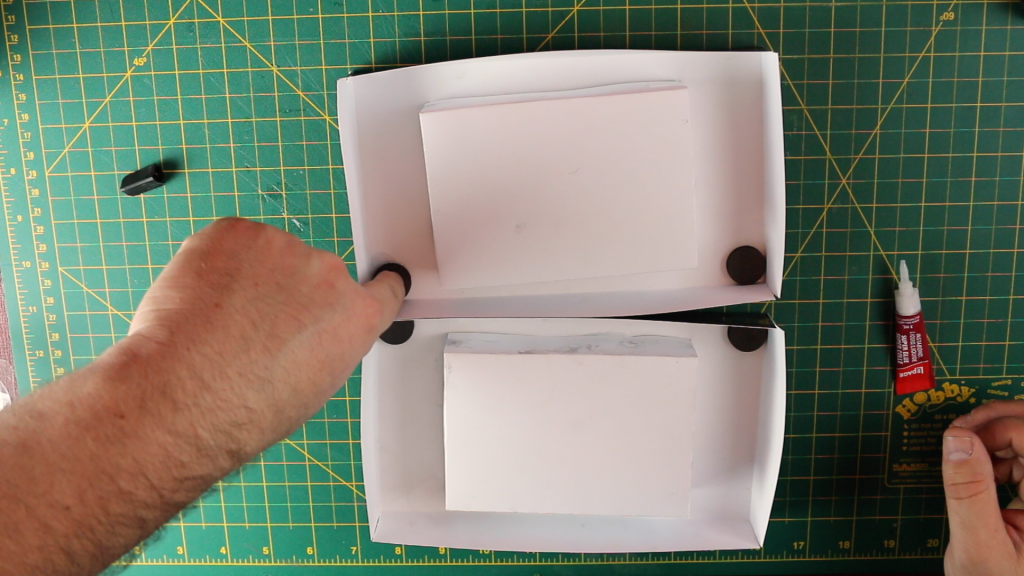
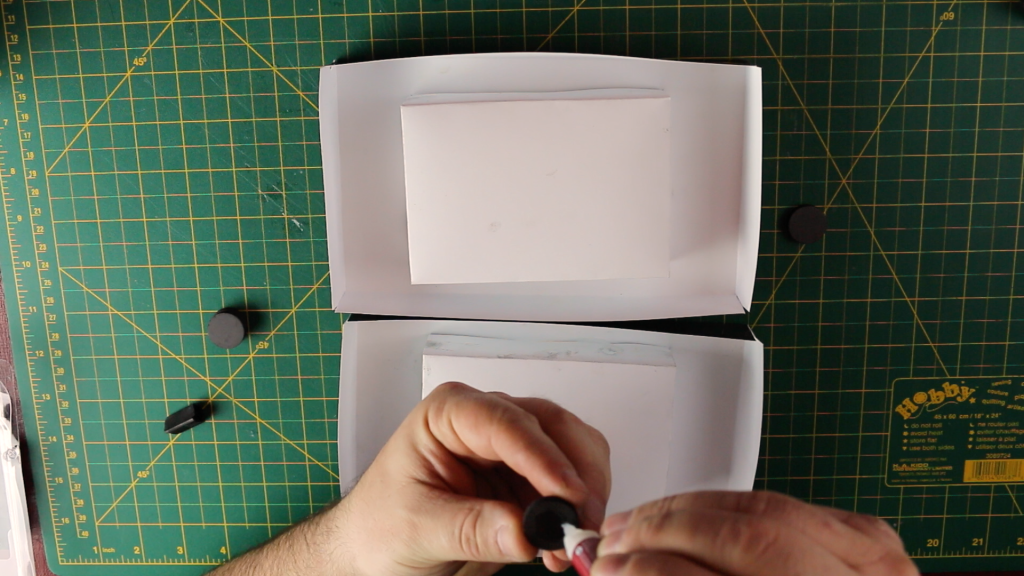
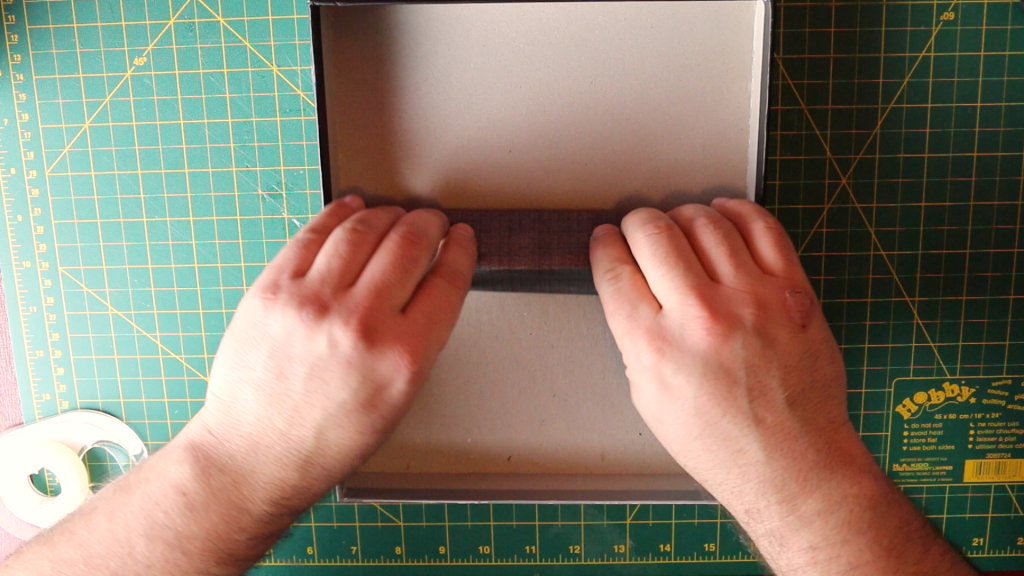
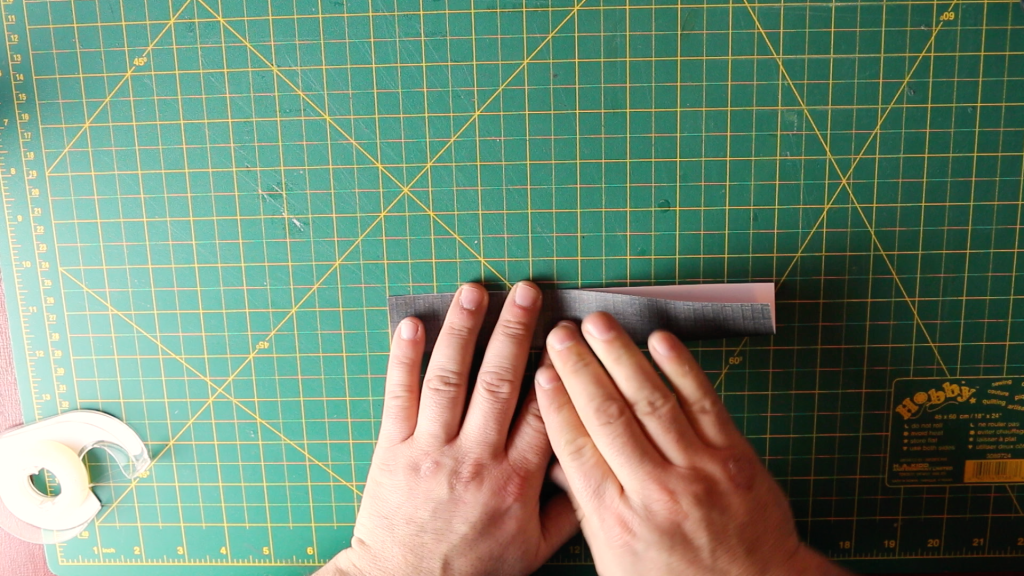
That design is one I’ll share with you today as I teach you how to make your very own Boss Monster insert out of not much more than some card stock, glue and a couple magnets.

Temple of Elemental Evil Unboxing – [Dungeons & Dragons]

Tags

, , , , , , , , , , , , , , ,

Last last year I purchased myself a copy of Wizards of the Coast’s latest entry into their Dungeon & Dragons adventure system board games; Temple of Elemental Evil. It’s the 4th game in a series of games that are very simplified versions of the D&D table top games. I enjoy them because they don’t take a great deal of prep, and can be played by pretty much any body regardless of their knowledge of the Dungeons & Dragons system.

Since these games are usually jam packed with lots of cool pieces, I figured I’d record myself opening up the box, and showing you all what’s on the inside. I was not disappointed. There are LOTS of miniatures, a bunch of tiles, and a crazy amount of little cardboard pieces that while not used every time you play the game, are all part of the overall gameplay as you return again and again to battle the forces of elemental evil.

One of the things that really stood out as different than the previous versions, is the fact that the core gameplay is based on 5th edition, instead of 4th edition. I found that this really simplified a bunch of the game mechanics, in turn making the whole game play just a bit smoother. The other major change is the fact that this game also has a campaign mode, so as you progress through the game, you retain some items, and the deck has different components added depending on the outcome of your previous play throughs.

I hope you enjoy as much as I’ve enjoyed playing this game since I opened it. Which is a lot!

You can get your own copy from Amazon.com (Affiliate Link):

Temple of Elemental Evil Unboxing

DIY Super Meat Boy Plush

Tags

, , , , , , , , , , , , , , , , ,

Well it looks like I’m about all caught up here. My last post about old videos is for my Super Meat boy plush. Now as far as plushes go, I’m not as happy with this one as I have been with the others. It wasn’t a disaster (like my bullet bill one.. don’t even get me started). But it was no Chewy Domo either. Some ideas just get turned into reality better than others it seems.

Anywho. Here’s the video. Enjoy!

DIY Super Mario Warp Pipe

Tags

, , , , , , , , , , , , , , , , , , , , , , ,

I think I’ve mentioned somewhere in the thousands of times that yes, I’m a fan of board games. So making a DIY Super Mario Warp Pipe for a Super Mario card game just made sense. I was pretty happy overall with the way this craft turned out, but I still haven’t figured out the best way to get the lid to stay on and look good at the same time. Since the top of the lid and the bottom of the case are the same size, you kinda need to bend the seam of the pipe part a bit to get it to fit in correctly. But it does work, and is still where I keep my Mario card game today.

DIY Hearthstone Wallet

Tags

, , , , , , , , , , , , , , , , , , , , ,

I haven’t done many collabs, but I’ve been super happy with the ones I did. Now I didn’t get to meet up with Bookmore in person, but I was super glad to get to work with Tom. He’s not currently active on his channel, but hopefully once he’s had a chance to get settled in where he is, he’ll find some time to wind up the crafting machine again.

While I was quite happy with my wallet, Toms’ just blew mine out of the water. I could tell there was a LOT of work that went into it. You can see his here:

DIY Anime Shoes / Manga Shoes

Tags

, , , , , , , , , , , , , , , , , , , , , , ,

This video has a special place for me, since it’s the first time I got to meet an awesome friend called Jackie! She’s another nerdcrafter, and she makes all kinds of geeky tutorials over at her channel NerdECrafter. If you haven’t seen her channel already I highly recommend it! And if you’re looking to make yourself a sweet pair of DIY Anime Shoes, go check out Part 1 & 2 of our collab!


DIY Steampunk Hat

Tags

, , , , , , , , , , , , , , , , ,

For one of my earlier Geek & Sundry Vlogs I created a steampunk wizard hat to accompany a costume I was working on for halloween. Well halloween came again the next year, and rather than lug around the original gigantic hat, I decided to go with a smaller version so that I didn’t have a 3 foot hat on everywhere I went. The result was what I show you how to make in my DIY Steampunk Hat video.

DIY Iron On Patch

Tags

, , , , , , , , , , , , , , , , , , ,

Continuing the theme of playing catch up with my older videos, here’s a tutorial I did on making a DIY iron on patch using cross stitch. This would have been way more useful for me to have thought of when I was going to school, since I actually had a bag that I used frequently that could have held more of these. As it is, it seemed to fit nicely onto my computer laptop bag (that I rarely use, since my backpack’s got a laptop slot). Of course a 1up mushroom is just one example of what you can make with this idea. Since cross stitching and 8-Bit graphics go hand in hand, the list of things you can stick to other things is pretty near endless.

DIY Minecraft Creeper Plush

Tags

, , , , , , , , , , , , , , , , , , , , , , , ,

Download the DIY Minecraft Creeper Plush Layout

Ok, so this isn’t a ‘new’ craft that I’ve made, but I’ve decided to play a touch of catch up for some of the crafting videos I’ve made since I last posted here. I hope that’s ok with y’all. I made this video almost 2 years ago (man how time flies) and I can see a HUGE improvement in the quality of my videos. But you’ve got to start somewhere I’ve been told, and I see what they mean. The video is for my DIY Minecraft Creeper plush, and I think I went about it in the longest way possible.

First you need about a billion pieces, and then sew them all together. Ok, so maybe not a billion, but you definitely need way more little bitty pieces than is realistically necessary. I’ve often meant to go back and do a simpler version of this. As a matter of fact, I think I’ll go slap that on the TODO list right now.

Done.

Ok, on with the video! Hope you enjoy!